A couple of years ago, I gave up my 3” heels, pencil skirts and the stresses (and joys) of owning my own business to move to Seoul to join my husband and to prepare for motherhood. Did I miss the highs of closing a deal, troubleshooting last minute messes, dishing out customer service the way you should even though you know the customer is being a real pain in !#@$, handling HR issues (*groan*), while working with a fabulous team of people and mentoring newbies? SURE!
At the same time I was relishing my new role as a mother and being able to focus solely on my daughter (except for those stolen moments surfing the net). But there was a part of me that wanted to do something more… something to channel that extra bit of energy generated from a packed daily schedule and intense pressure from the last 10 or so years in the industry. So I turned to sewing little projects for the house, myself and of course my daughter R.
Next came cooking and then THE BAKING. I used to bake when I was living in London and had a better work-life balance. So I find myself enjoying new recipes and deciding to take it to another level for R’s 1st birthday. My husband, whose friends call Mad-dog suggested that I bake cupcakes as favours for the party. Hmmmm, not a small undertaking as I knew I would get no help from him but I decided that it was time to push myself with a little challenge.
These are the Red Velvet with Cream Cheese Frosting cupcakes I made for R's 1st Birthday as favours

Back in the days when my daughter would have two (or more) 2 hour naps a day, it was easier to get cake decorating done in a calm and focused environment. These days…not! Anyway, I started decorating and found myself really enjoying it! I felt so peaceful and got a sense of achievement when I completed each cupcake. After that, I started baking more cupcakes, cakes and learnt more ways to decorate from the internet.
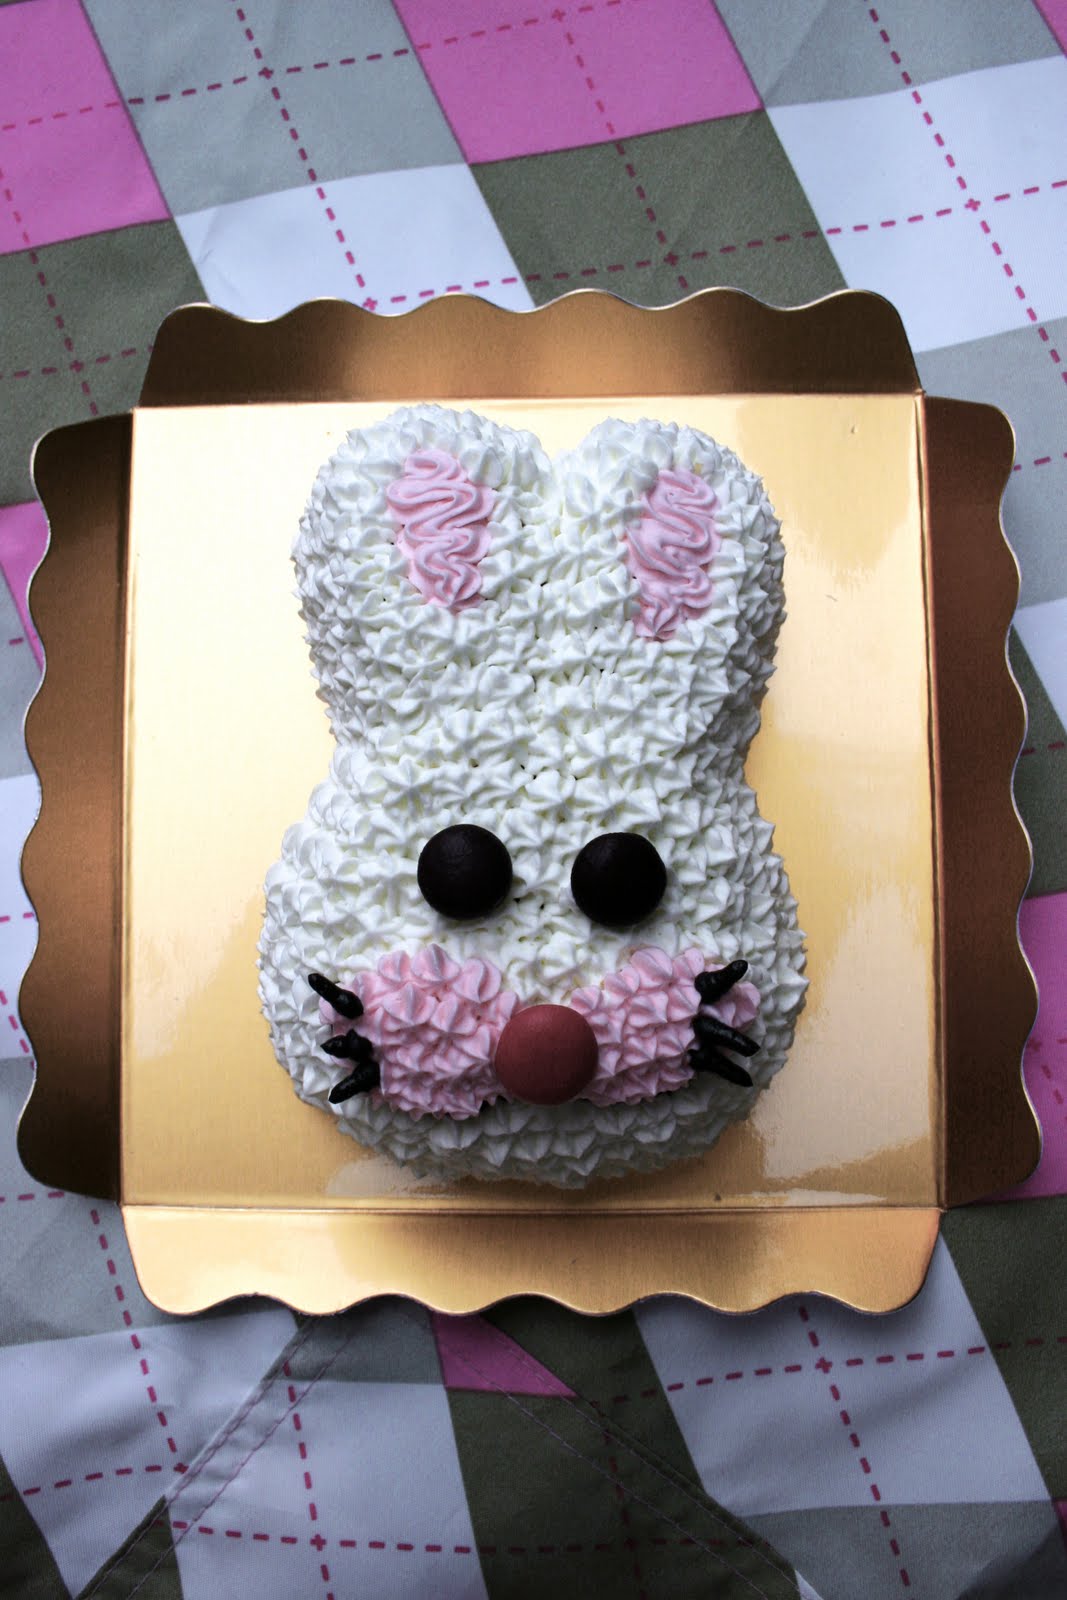
Some of my initial cupcakes designs
 Frogs in Pond theme which I did for a 2 year-old's Birthday. This was very special to me as it was the first time someone asked me to bake for them and not just for any occassion!
 The next two were for a Bridal Shower.

I began uploading photos of my designs on Facebook and friends started noticing, and in particular, ex-colleagues. They all seemed to have similar comments. Most were surprised that I had a ‘hidden’ talent! Now, I don’t know whether they said that because I was a tough boss so they just couldn’t see me in a 'domesticated role' or they just didn’t think I had that sort of creativity in me!
Vegetable Garden Party Themed Cupcakes
Some friends who noticed my cupcakes were willing to give an amateur a chance and got me to cater for them. I first baked for a friend who wanted Frog cupcakes for her son and it was exciting but I must admit I was a little nervous. Its one thing decorating and baking for yourself but it’s quite another when you’re doing it for someone else! But despite some minor hiccups along the way, the birthday boy was delighted with his cakes.
Frogs in Pond theme which I did for a 2 year-old's Birthday. This was very special to me as it was the first time someone asked me to bake for them and not just for any occassion!
The second friend who asked me to make some cupcakes did it as a surprise for her husband’s birthday. As it was World Cup season, she wanted something football (soccer) related so I made cupcakes with Korean national jerseys and some with soccer balls on a bed of grass. Getting the right green for grass is not easy!
I had a 3 hour decorating lesson while I was on holiday in Malaysia back in May where I learned to decorate cupcakes with gum paste and fondant so I used that knowledge to make the jerseys and the footballs. You can read about how I did it here. Gum paste and fondant is like plasticine for baking.
It was a Spring Garden Theme and I had fun making the frangipani's and African Daisies. I found the snails most fun to make.

I really enjoyed the lesson and started seriously thinking about taking classes to learn some basic and technical skills. There is only so much one can glean from reading a book! I could pipe 2D flowers but I wanted to do more! I wanted to make roses or make my own sugar paste flowers and I knew I wasn’t going to get very far just reading about it.
So I started looking into lessons that I could take in Korea. My biggest hurdle is the language. Ordering food, asking for directions and a bit of haggling (very important to learn in any language) at the markets is about as good as it gets. So the teacher had to speak some smattering of English.
My first stop was
Wilton as I have been going to their website for ideas on how to use their tips. Wilton’s decoration tools are like the Bible of cake decoration. So I emailed Wilton Korea and they redirected me to Crystal Kim who owns the
Wilton Deco School here in Seoul.
I got straight on the phone and called her. Between my bad Korean and her English and I managed to get down a lot of details about the type of courses that she runs which includes the standard Wilton Cake Decorating Course I, II and III which lasts for 3 months. This is called the Hobby Course and there is the Professional Course which she conducts and lasts for 6 months. Basically you learn heaps more about decorating. She also gave me the number of one of her former students for me to get an idea of how she conducts classes, what it would be like and also allow me to find out first hand experience from a foreigner. I found this especially useful.
The lady I spoke to was from Sri Lanka and her name is S. She was really kind to answer the tons of questions I had. My biggest concern was whether I would be able to keep up as I was worried that the instructions would be mainly in Korean and they would go on and on and I would be without a clue!
S explained to me how her classes worked, how she found it (she really enjoyed it), the teaching style, number of classes, what she learned and whether she found it worth her while (very important as the fees aren’t cheap). That helped convince me to go ahead with it. I visited the school in Banpo-dong where it’s located to check it out and pay my first 2 months of fees.
Walking through the door of the school, the smell of buttercream just envelops you like a cloud. Yummm! The next thing that catches my eye is the beautiful fondant and gum paste creations along the wall. There’s Mario from Super Mario looking like he just walked out of the TV and many other little edible delights.
Crystal had a former student there called Stacy who spoke terrific English, to help give me more information and answer my questions. Stacy was very cool and she’s on the WiltonDeco website and get this… she’s been to Planet Cake for a course! Anyway, with the help of Crystal, Stacy got her Wilton Method Instructor certification from Australia as there is such a queue of people who try to get on that course in Korea that it is almost impossible to get in as it only happens once or twice a year. Crystal through her contacts within Wilton managed to help Stacy secure a spot in the much coveted WMI course in Sydney. Now Stacy is getting ready to move to Sydney in October where she got a job at a bakery in Sydney as a cake decorator. How fabulous is that? Go Stacy!
That's Crystal Kim (WMI) my teacher on the far right with the rest of my classmates
Here is the group prepping some of the cakes with another group working in the background. They were making a Barbie cake. (Can't wait for that lesson!)

Well, that was how it all started out from a simple suggestion from my hubby (he IS useful sometimes) and now begins a really fun and exciting experience for me. I will be posting my experiences during my classes as much as possible. If anyone’s got any questions, just post a comment and I will do my best to answer or direct you to the right place.


 I am really enjoying my lessons and to be honest, I would enjoy it more if I understood what everyone was talking about. One of my classmates, Gyeong Ha (경하) is a right Little Miss Chatterbox but not in an annoying sort of way. I actually really like the chatter that she generates and although I don't understand, from all the expression with that "ya's" and the "yo's" that I am hearing I'm sure it's interesting stuff. She has a friendly personality and is quite wicked with her rosebud piping techniques.


 Back in the days when my daughter would have two (or more) 2 hour naps a day, it was easier to get cake decorating done in a calm and focused environment. These days…not! Anyway, I started decorating and found myself really enjoying it! I felt so peaceful and got a sense of achievement when I completed each cupcake. After that, I started baking more cupcakes, cakes and learnt more ways to decorate from the internet.
 Frogs in Pond theme which I did for a 2 year-old's Birthday. This was very special to me as it was the first time someone asked me to bake for them and not just for any occassion!
 The next two were for a Bridal Shower.


 I really enjoyed the lesson and started seriously thinking about taking classes to learn some basic and technical skills. There is only so much one can glean from reading a book! I could pipe 2D flowers but I wanted to do more! I wanted to make roses or make my own sugar paste flowers and I knew I wasn’t going to get very far just reading about it.

 Well, that was how it all started out from a simple suggestion from my hubby (he IS useful sometimes) and now begins a really fun and exciting experience for me. I will be posting my experiences during my classes as much as possible. If anyone’s got any questions, just post a comment and I will do my best to answer or direct you to the right place.